Broiler chickens: Key steps to a good start
The brooding period is a crucial time for the success of your broiler farm. In this article we’ll look at the steps you should take before, during and after receiving a batch of chicks to help you rear a profitable, high-quality flock.
Why is the brooding period so important?
The first seven days of rearing are crucial for broiler farmers. Many studies show that when farms fail to achieve optimal performance during this period, their flock performance is compromised and can’t be corrected later on.
That’s because the first seven days account for 20% of a chick’s life. It’s also when the birds are at their most efficient, gaining 100% of their starting weight in 72 hours.
You obviously want healthy, large chicks with a low mortality rate. In practical terms, the brooding period targets are as follows:
Weight at Day 7: 4.5 to 4.8 times the weight on Day 1
Aim for 180–200 grams
Mortality rate on Day 7: maximum 1%
Reduce the batches treated with antibiotics
Flock uniformity of 70–80% (CV% = 8–10)
To achieve this, plan for about 10 days of work divided into four key stages:
Before the chicks arrive
When the chicks arrive
The first 48 hours
Day 2 to Day 7
1. Before the chicks arrive
Prepare the barn and allow for some downtime. Then, three days before the birds arrive, make sure you have everything in place:
Litter: Should be evenly spread, dry, and in sufficient quantities (2–3 in. thick, preferably on a concrete floor).
Materials: Make sure you have all the poultry-rearing materials you need.
Equipment: Make any repairs and test your equipment (sensors, fans, heat leaks, controllers, etc.).
Lighting: Evenly distributed and non-flickering, with an intensity of 60 lux in the reception area.
Ventilation: Minimum 0.04 cfm/chick, relative humidity at 50% and CO2 levels at <3000 ppm.
Preheating: Start at 80–85°F (48 hours before the chicks arrive); 92–96°F floor temperature (18–24 hours before the chicks arrive); and 89–90 °F floor temperature in the reception area (when the chicks arrive). In a well preheated barn, there shouldn’t be more than a 14°F difference between the warmest and coldest areas.
Feed: Set up in advance so that it’s warm, 70 g/chick.
Water: Set up and treated with the desired pH and CI parameters. Disinfect the water lines and flush them as close as possible to the arrival of the chicks at a flow rate of 21–23 ml/minute.
In terms of biosecurity, once you’ve disinfected the barn and spread the litter, you should manage the barn as though the birds were already there.
2. When the chicks arrive
To help make the chicks’ transition to your barn as smooth as possible, you should:
Make sure staff are available
Unload the birds in the dark
Distribute the crates evenly
Arrange the birds so they’re comfortable
Work calmly and quietly
Check the height of the drinkers
Switch the lighting back on, do a lap outside the reception area and leave quietly
For the chicks to settle into your barn successfully, you need to make sure they stay on the feed and near the water for as long as possible. Creating the ideal conditions in your barn (floor temperature, ventilation, lighting setup, etc.) will help you achieve this.
3. The first 48 hours
During the first 48 hours, check all parameters (temperature, ventilation, humidity, bird distribution, nipple height, feed, etc.) on a regular basis.
Flush the water lines four or five times on the first day. Keep the water temperature between 64°F and 70°F to promote optimal intake. One study shows that having water that is too warm for four days can reduce weight gain by 20 g over seven days.
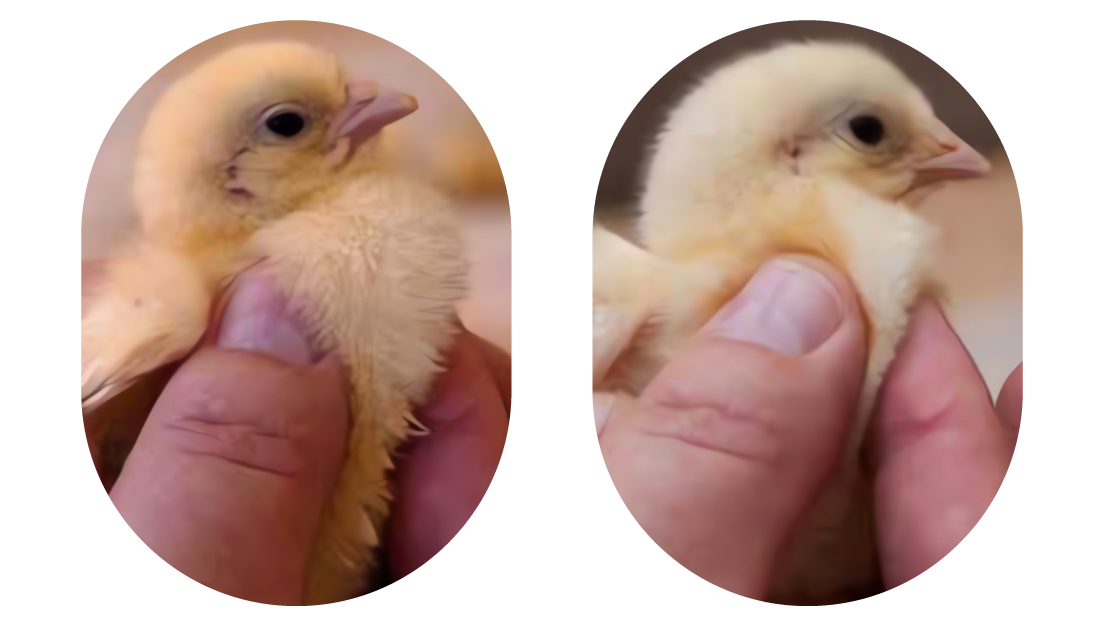
Check the birds’ deep body (cloacal) temperature within the first two hours, then four and six hours after arrival—it should be between 104°F and 105.4°F.
You should also check the chicks’ crop fill. After the first two hours, more than 95% of the birds should have at least some feed in their crops.
4. Day 2 to Day 7
Although the first few hours are critical, the work doesn’t stop there. From Day 2 to Day 7 after chick arrival, you’ll need to do the following every day:
Check and adjust the parameters (temperature, lighting, water, etc.)
Check the distribution of the birds (two or three rounds)
Flush the water lines (three to five times a day)
Adjust the height of the nipples
Fill up the feeders at each round
Check the water quality (pH and ORP)
Assess mortality
In poultry production, every little detail counts. That’s why the Sollio Agriculture network has agri-advisors in place to help farmers rear new batches of broilers.
About the author